
Knowing how to change oil is one of the most essential skills for anyone who wants to take better care of their car. While many people rely on mechanics for this task, learning to do it yourself can save money, prevent costly engine repairs, and give you confidence in basic car maintenance. For beginners, the process may seem intimidating, but with the right guidance and tools, it’s easier than you think.
This guide will show you step by step how to change oil safely at home, even if you’ve never done it before. From gathering the right materials to checking for leaks after the job, each step is explained in detail with tips and tricks to make the process smooth, safe, and effective. By following this guide, you’ll gain practical skills and learn to maintain your car like a pro.
Gather All Necessary Tools and Materials
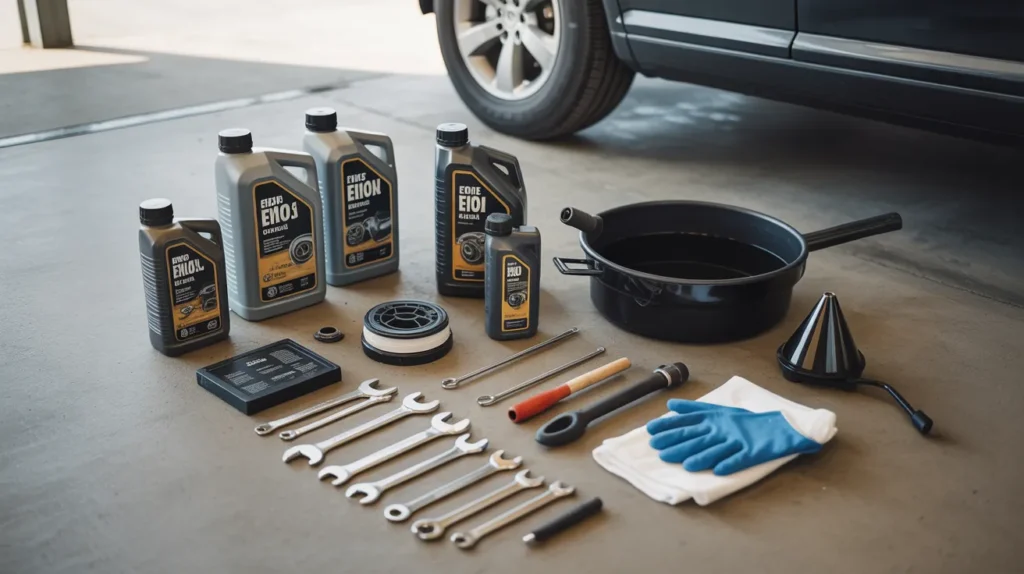
Before attempting an oil change, preparation is key. Collecting all the proper tools ensures a smooth and safe process.
What you need:
- Engine Oil: Use the correct grade and quantity recommended in your car’s manual. Common types include 5W-30, 10W-40, etc.
- Oil Filter: Every oil change requires a new filter. Make sure it matches your car model.
- Wrenches or Socket Set: Needed to remove the drain plug and sometimes the oil filter.
- Oil Drain Pan: To catch used oil. Use a container large enough to hold all the old oil.
- Funnel: Helps prevent spills when pouring new oil.
- Gloves and Rags/Paper Towels: Protect your hands and clean spills.
- Jack and Jack Stands (Optional): If your car is low, you’ll need these to lift it safely.
Tips for beginners:
- Always wear gloves to avoid contact with toxic used oil.
- Keep old newspapers or cardboard under the car to catch drips.
- Have a flashlight ready for visibility under the engine.
Park Your Car Safely
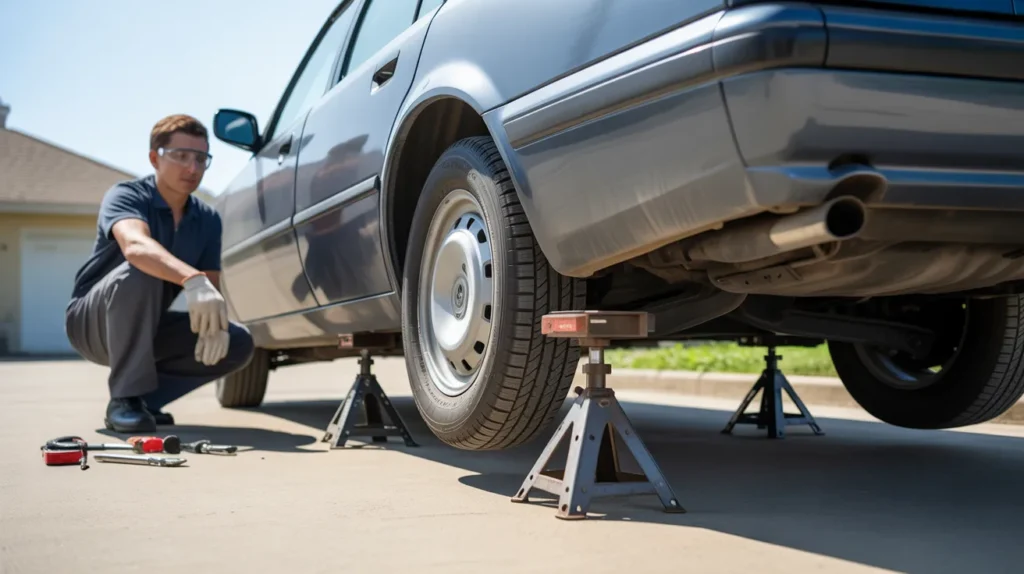
Safety is the most important step in any DIY maintenance.
Steps:
- Choose a flat surface: Avoid slopes to prevent accidents.
- Engage the parking brake: Ensures the car doesn’t roll.
- Use jack stands if lifting is necessary: Never rely on a car jack alone.
- Allow the engine to cool: Hot oil can cause serious burns.
Tips:
- Lay down cardboard or old sheets to catch any accidental oil spills.
- Avoid working in direct sunlight if it’s hot—it can be uncomfortable and risky.
Locate the Oil Drain Plug and Oil Filter
Finding these components is crucial for a smooth oil change.
Steps:
- Refer to your car’s owner manual for exact locations.
- Oil drain plug: Usually located at the bottom of the engine, screwed into the oil pan.
- Oil filter: A small cylindrical filter near the engine block.
Tips:
- Make sure the car is stable before crawling underneath.
- Keep a flashlight handy to avoid mistakes.
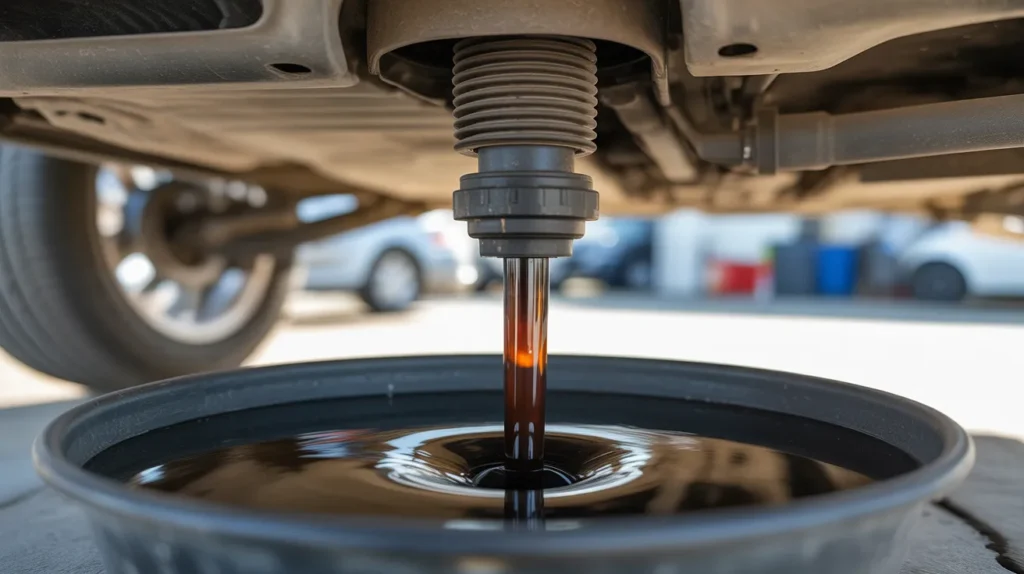
Drain the Old Oil
Draining old oil is the dirtiest but most important part of the process.
Steps:
- Place the oil drain pan under the plug.
- Use a wrench to slowly unscrew the plug.
- Allow all oil to drain into the pan (usually 5–10 minutes).
- Replace the drain plug washer if needed and screw the plug back in once drained.
Tips:
- Used oil can be hot—wear gloves and long sleeves.
- Avoid splashes by slowly loosening the plug first, then fully removing it.
- Inspect the drained oil for unusual colors or metal particles, which could indicate engine issues.
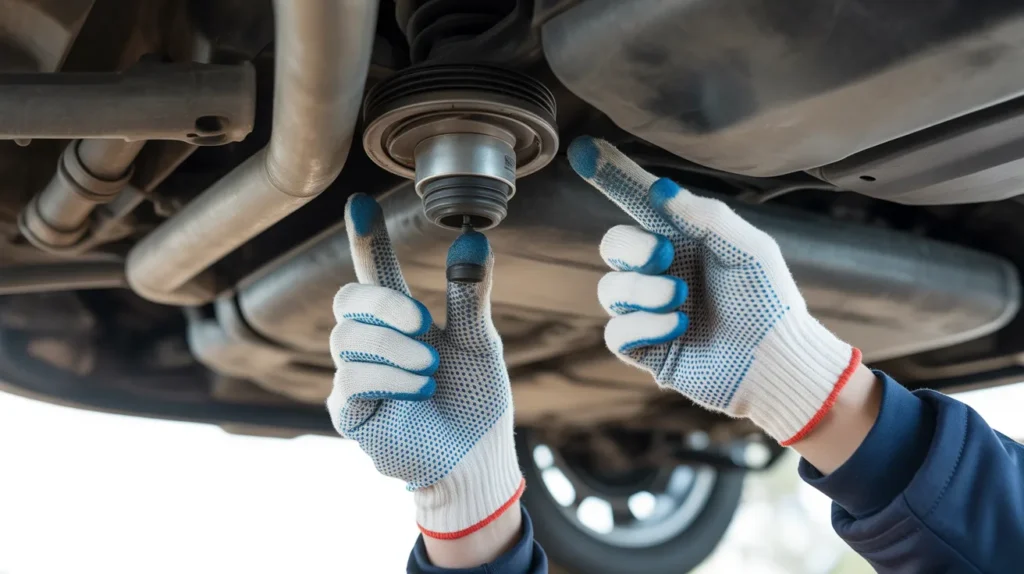
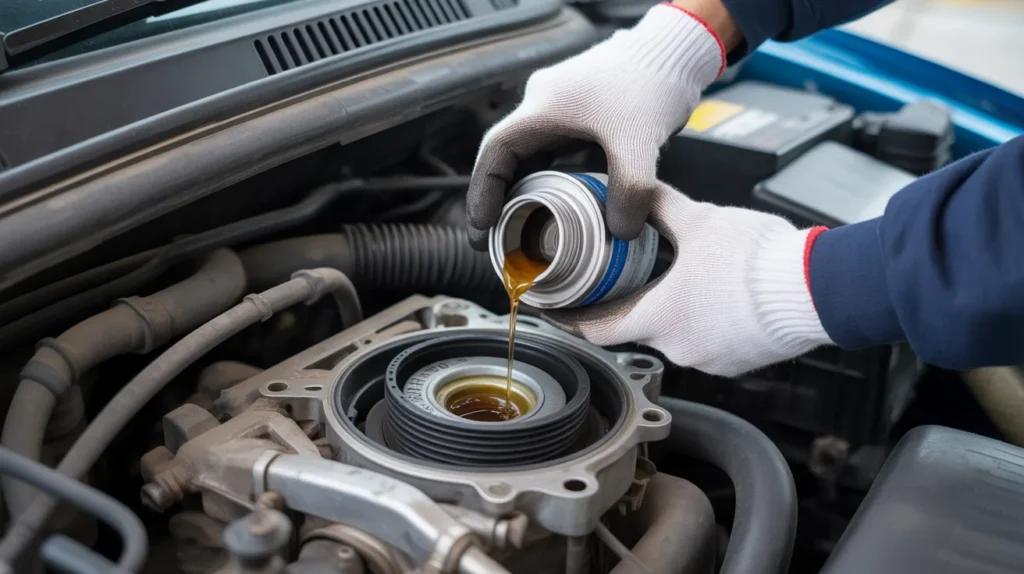
Replace the Oil Filter
Replacing the oil filter ensures your engine stays clean and runs efficiently.
Steps:
- Unscrew the old oil filter; keep the drain pan underneath to catch drips.
- Apply a thin layer of new oil to the rubber gasket of the new filter—this ensures a tight seal.
- Screw the new filter in by hand until snug; avoid over-tightening.
Tips:
- Check the old gasket didn’t stick to the engine block—it can cause leaks if forgotten.
- Hand-tightening is sufficient; overtightening may damage the filter or threads.
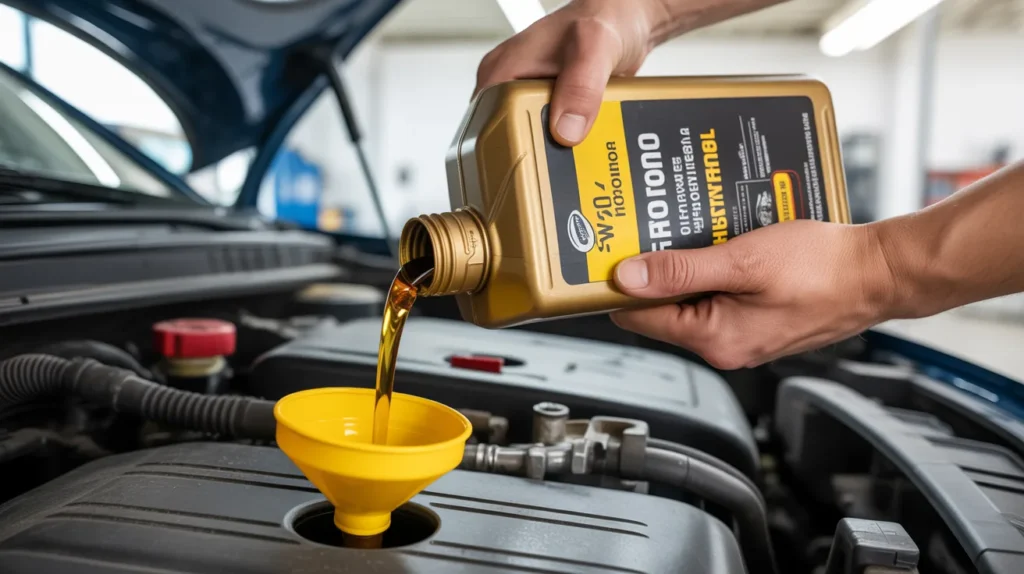
Refill with New Oil
Adding fresh oil is the final step for engine lubrication.
Steps:
- Locate the oil filler cap on the top of the engine.
- Insert a funnel to prevent spills.
- Slowly pour in the new engine oil.
- Replace the filler cap securely.
Tips:
- Pour slowly to avoid overfilling.
- Use the dipstick to verify the correct oil level after filling.
- Keep a rag nearby for accidental drips.
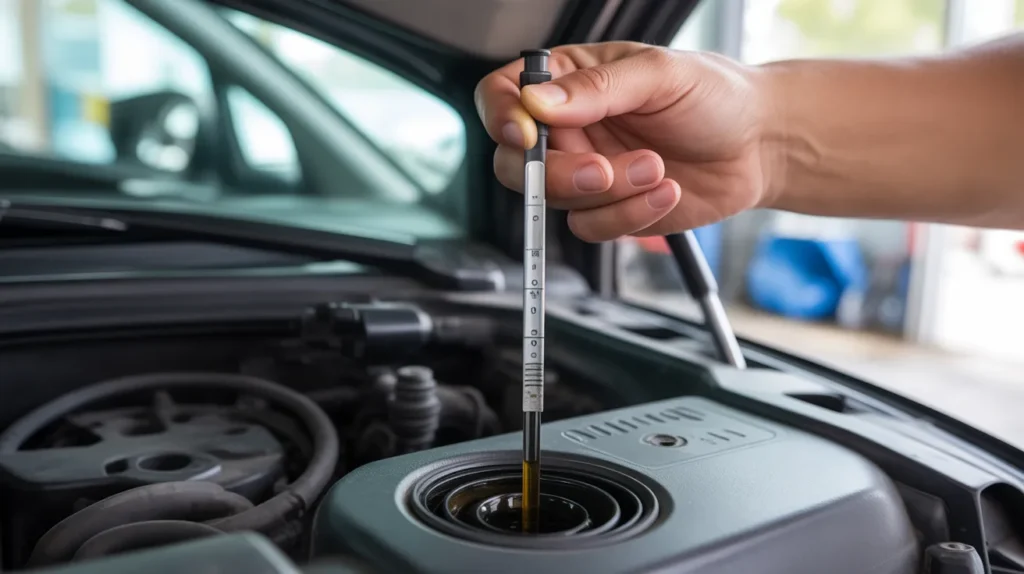
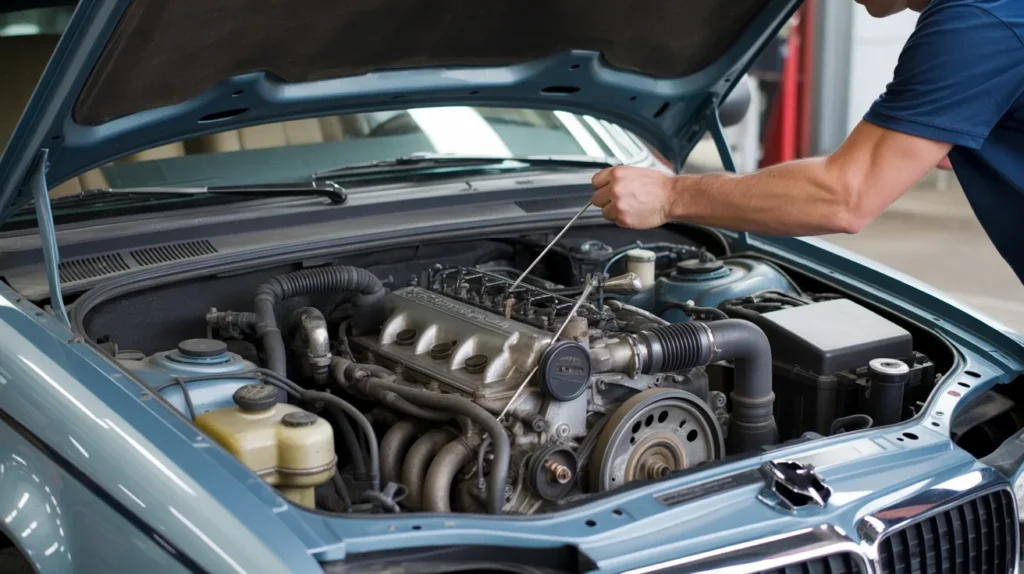
Check the Oil Level
Ensuring the oil level is correct is crucial for engine health.
Steps:
- Wait a few minutes after filling.
- Pull out the dipstick, wipe it clean, then reinsert and remove it again.
- The oil should be between the “min” and “max” marks.
Tips:
- Never overfill; too much oil can damage seals and the engine.
- Clean the dipstick each time for an accurate reading.
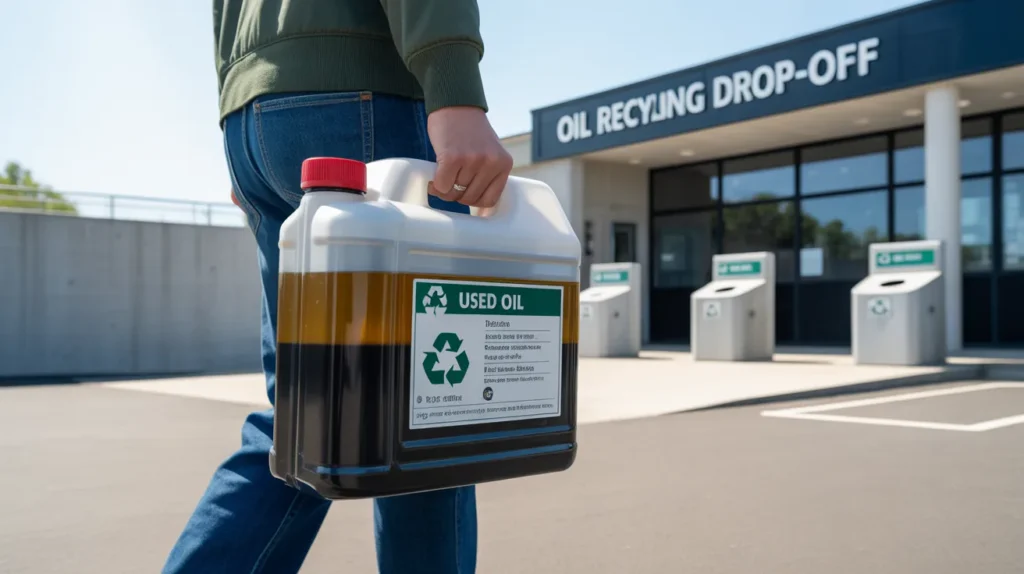
Dispose of Old Oil Properly
Used oil is toxic and should never be thrown in the trash or poured on the ground.
Steps:
- Pour old oil into a sealed container.
- Take it to a local recycling center, auto shop, or hazardous waste facility.
Tips:
- Many auto parts stores accept used oil for free.
- Store used oil safely if you cannot immediately take it to a disposal center.
Start the Engine and Check for Leaks
The final check ensures everything is secure and functioning.
Steps:
- Start the engine and let it idle for a few minutes.
- Check underneath for any leaks around the drain plug or filter.
- Turn off the engine and recheck the oil level one last time.
Tips:
- Listen for unusual engine noises.
- If you notice leaks, tighten components slightly or consult a mechanic.
Conclusion
Learning how to change oil yourself is empowering, cost-effective, and a great way to take control of your vehicle’s maintenance. Regular oil changes improve engine performance, extend the lifespan of your car, and can prevent major mechanical problems. By taking the time to do it yourself, you not only save money but also gain valuable hands-on experience.
With this step-by-step guide, even beginners can confidently tackle their first DIY oil change. From draining old oil to installing a new filter and checking levels, each stage is manageable when approached carefully. Remember, knowing how to change oil is not just about saving money—it’s about understanding your car and keeping it running smoothly for years to come.