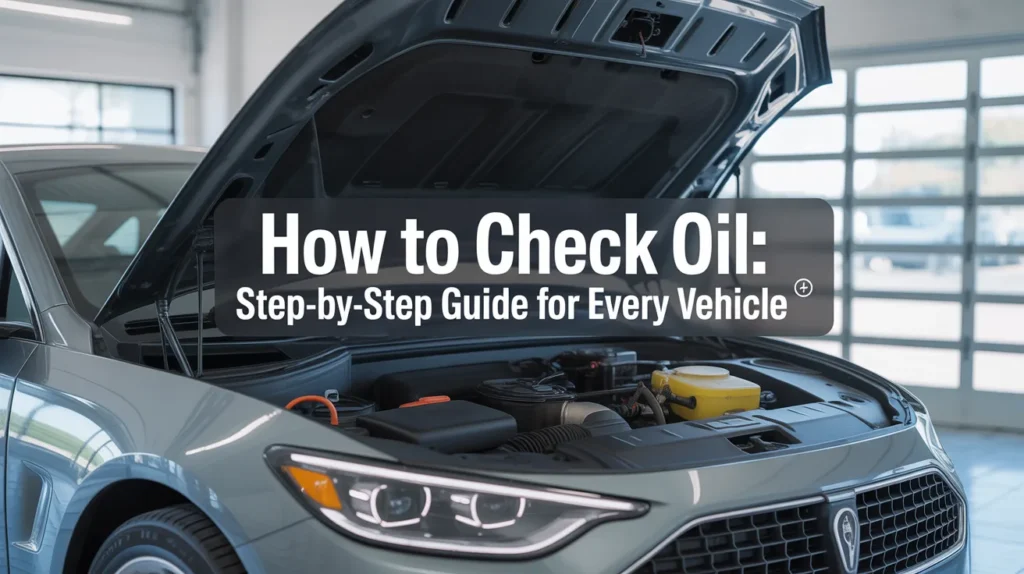
Your car’s battery is the lifeline of its electrical system, powering everything from the starter motor to the dashboard lights and onboard electronics. Knowing how to test a car battery with a multimeter is an essential skill for every driver, as it allows you to quickly assess whether your battery is healthy, undercharged, or on the verge of failure. With just a simple multimeter, you can prevent unexpected breakdowns and avoid being stranded in inconvenient situations.
Batteries naturally degrade over time due to age, temperature fluctuations, and usage patterns. Even a seemingly “new” battery can lose efficiency if exposed to extreme heat, frequent short trips, or neglected maintenance. Regular testing helps you catch problems early, ensuring your car starts reliably and your electrical system remains stable.
By understanding your battery’s condition, you can make informed decisions—whether it’s recharging, performing minor maintenance, or planning a replacement. This guide will walk you step by step through how to test a car battery with a multimeter, helping you maintain your vehicle and drive with confidence.
Why You Should Test Your Car Battery
Car batteries are not designed to last forever—they naturally lose their ability to hold a charge over time. Factors such as age, extreme temperatures, frequent short trips, and heavy electrical use can all accelerate this degradation. Regularly testing your battery with a multimeter can help you detect issues early, saving you from unexpected problems on the road.
Here are the main reasons you should make battery testing a routine habit:
- Avoid getting stranded with a dead battery – There’s nothing more inconvenient than a car that won’t start. Testing your battery lets you know its health before it leaves you stuck in traffic, at work, or late at night.
- Identify potential charging system issues – Sometimes a failing battery isn’t the root problem. A multimeter test can help you spot problems with the alternator, wiring, or voltage regulator before they lead to bigger, more expensive repairs.
- Extend the life of your battery – Detecting voltage drops or irregular readings early allows you to take preventive measures, such as cleaning corroded terminals, tightening connections, or charging the battery when necessary. This proactive approach can prolong your battery’s lifespan and reduce replacement costs.
While many drivers only notice a battery problem when it completely fails, a simple multimeter test provides critical insight into your battery’s condition. By checking its voltage and performance under load, you can take action before minor issues escalate into major inconveniences.
What You’ll Need
Before you begin testing your car battery, it’s important to gather the right tools and safety equipment. Having everything ready not only makes the process smoother but also ensures you can test the battery safely. Here’s what you’ll need:
- Digital multimeter – While analog meters work, digital multimeters are more accurate and easier to read. They allow you to measure voltage precisely and quickly.
- Safety gloves and glasses – Car batteries contain corrosive acid, and accidental sparks are possible. Wearing gloves and eye protection reduces the risk of injury.
- Battery terminal cleaner (optional) – Corroded terminals can affect voltage readings. If your battery terminals are dirty or greenish, clean them before testing for the most accurate results.
Step 1: Prepare Your Vehicle
Proper preparation is essential for safety and accurate readings. Follow these steps:
- Turn off the engine – Make sure your car is completely off. Testing a battery while the engine is running can give inaccurate results and may pose an electrical hazard.
- Open the hood – Locate your car battery, usually near the front of the engine bay. Take note of the positive (+) and negative (−) terminals.
- Inspect the battery – Look for signs of damage such as cracks, leaks, or heavy corrosion. If terminals are corroded, use a terminal cleaner to remove buildup before testing. Clean, secure connections ensure more reliable voltage readings.
Step 2: Set Up the Multimeter
Once your vehicle is prepared, it’s time to configure your multimeter:
- Turn on your digital multimeter.
- Set it to DC voltage mode (usually marked with a “V” and a straight line above it).
- Select a range that can read at least 20 volts, as most car batteries operate around 12 volts. Using the correct range ensures your readings are precise.
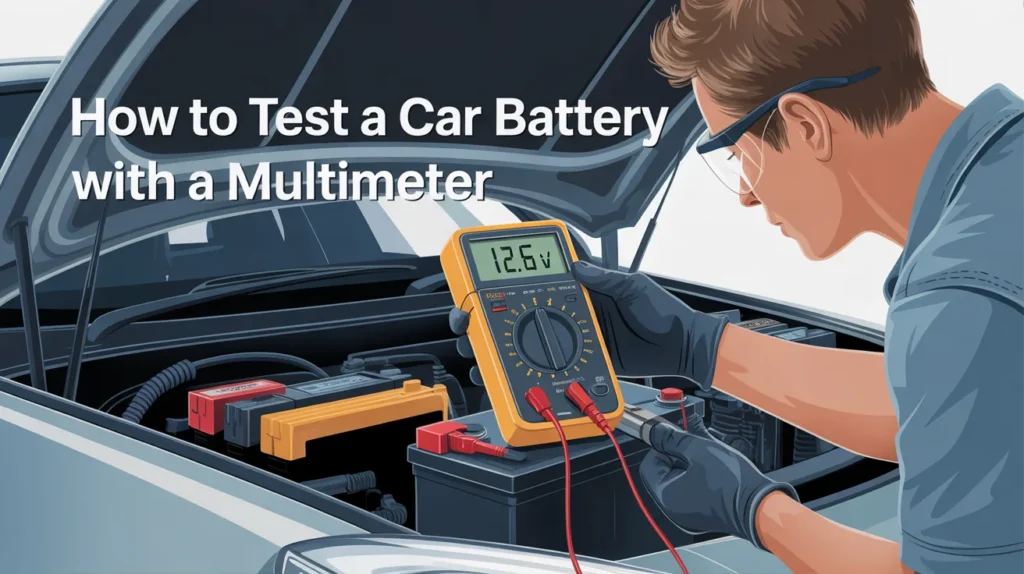
Step 3: Connect the Multimeter
To measure the battery voltage safely:
- Attach the red (positive) probe to the positive terminal (+) of the battery.
- Attach the black (negative) probe to the negative terminal (−).
- Avoid touching both probes at the same time or letting them touch each other, as this can create a short circuit or sparks.
Step 4: Read the Voltage
Once the probes are connected, your multimeter will display the battery’s voltage. Here’s how to interpret the readings:
- 12.6 volts or higher – The battery is fully charged and in good condition.
- 12.4–12.6 volts – The battery is moderately charged. It’s functional but may benefit from a top-up charge if it drops further.
- 12.2–12.4 volts – The battery is undercharged and could struggle to start the car. Consider recharging or checking the charging system.
- Below 12.2 volts – The battery is significantly discharged or failing.
If the reading is extremely low (around 10.5 volts or less), the battery may be dead and likely needs replacement. For detailed guidance, check our step-by-step tutorial on how to change car battery.
Step 5: Test the Battery Under Load (Optional)
Voltage readings alone tell you the battery’s resting condition, but testing under load gives a more accurate assessment of its real-world performance:
- Ask a friend to start the car while you monitor the multimeter.
- During cranking, the voltage will drop slightly but should stay above 10 volts.
- If the voltage falls significantly below 10 volts, the battery is weak and may need replacement.
If your battery dies while testing, or if you’re unsure, you may need to jump start your car before further diagnostics. This ensures you can safely continue testing or driving.
Step 6: Consider the Battery’s Age and Maintenance
Even a battery showing 12.6 volts may be near the end of its life if it’s older than three to five years. Regular testing, preventive maintenance, and proper charging can extend a battery’s lifespan:
- Keep terminals clean and free from corrosion.
- Ensure the battery is securely mounted to prevent vibrations, which can damage internal components.
- Avoid leaving electrical systems on when the car is off, which can drain the battery unnecessarily.
- Monitor voltage periodically, especially before long trips or during extreme weather conditions.
By combining regular multimeter tests with proper maintenance, you can avoid unexpected failures and ensure your car starts reliably every time.
Safety Tips When Testing a Car Battery
Working with car batteries involves electricity and corrosive chemicals, so safety should always be your top priority. Follow these tips to minimize risk:
- Always wear gloves and eye protection – Battery acid can cause burns, and accidental sparks can injure your eyes or skin. Protective gear is essential.
- Avoid short-circuiting the battery terminals – Never let metal tools or jewelry touch both terminals at the same time. A short circuit can cause sparks, fires, or permanent battery damage.
- Never test a battery that is cracked, leaking, or visibly damaged – Compromised batteries can explode or leak acid. If you see any physical damage, replace the battery instead of attempting to test it.
- Keep sparks, flames, and smoking materials away from the battery – Batteries can emit flammable gases, especially when charging. Maintain a safe distance from open flames or sparks at all times.
By following these precautions, you can safely test your battery and reduce the risk of accidents or injury.
Conclusion
Testing your car battery with a multimeter is a simple, effective way to keep track of its health and prevent inconvenient breakdowns. By regularly checking both voltage and performance under load, you can detect problems early, avoid sudden failures, and make informed decisions about maintenance or replacement.
Even if your battery appears to be functioning normally, age, extreme temperatures, and heavy use can reduce its effectiveness over time. Staying proactive—testing periodically, cleaning terminals, and monitoring your vehicle’s electrical system—helps ensure your car starts reliably and runs smoothly.
Remember, if your battery is dead or underperforming, you may need to jump start your car or eventually change the battery. By taking these precautions and staying proactive, you save time, money, and stress while maintaining peace of mind on the road.